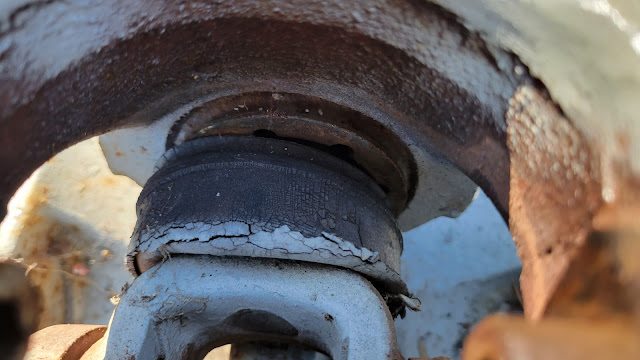
Ok, it's not as bad as you might think. It took me less than two hours from start to finish. Rachel Gingell on Youtube has a video about taking the pump out of a Ferguson 35, and that is what I basically followed. This first photo is of the fairly unmolested tractor before its guts were yanked out...
Down to business. First the seat came off, then the transfer plate (lower right corner of the top cover) and standpipe that pokes up into the plate.
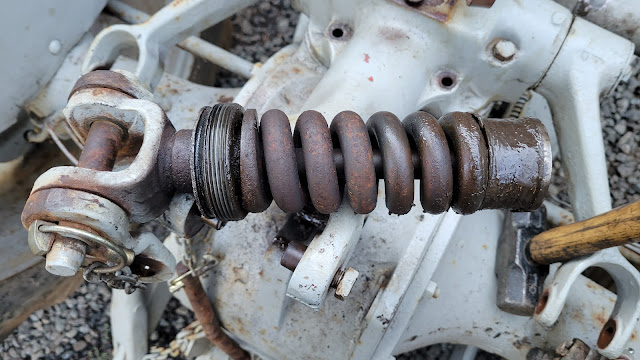
On the left of the yoke casting you can kind of see a hex set screw poking out. This needs to be loosened first, before loosening the large nut holding the spring in place. The set screw required heat from an acetylene torch before it would break loose, then a lot of working back and forth to unscrew it. If I'd forced it out, I would have rounded out the hex.
The next step was to somehow get the large nut out that holds the draft spring in place.. It actually didn't take as much force as I'd expected to break loose. I used a drift and 3lb sledge. I got it about a full turn out, then switched to channel locks (Knipex, to be precise). It was a long and arduous task but the nut finally came free.
Total time to get the spring out was an hour. And get this, no broken fasteners.
Once the cover is off, time to work on the innards. Remove the cotter pin running through the large coupling.
The coupling then slides forward (to the right). To get more room to work, I shifted the high/low lever into high, which moved the yoke/gear you see on the right further to the right.
The shaft then slides out of the splines on the right end.
Pull out the shaft next.
Below is the PTO shaft. Three bolts come out, then the bracket comes off.
This next step is where Rachel Gingell said was a real battle, getting the PTO shaft out. I happened to look inside the case and noticed the PTO shaft has a small protrusion that fits into the pump/PTO driveshaft. There was a gap large enough that I put a pry bar in the gap and gave a couple tugs. The shaft moved fairly easily to the left. I kept at it for a bit and the PTO shaft came out without much fuss.
With the PTO shaft out of the way, two small pins are removed from outside the tractor. These pins extend into the case and hold the pump in place. I didn't get a photo of the pins but they are just held in place with a couple of nuts each, and studs.
The rusty thing in the foreground (below) with something oozing out of it is the pressure relief valve. And notice on the back end of the relief valve there looks to be an o-ring extruding out from somewhere.
The pump is safely on the bench now. I started fiddling with the control valve lever and thought I'd capture its movement in a video. I could tell the valve wasn't moving the way it should. But then after just a little fiddling the valve broke free and started moving the way it should. *sigh*
This next photo shows a better view of the set screw. It's quite long.
I'm using my recently acquired JD 650 to lift the cover off as I didn't want to drag the engine hoist out onto the gravel. The first time I removed the cover (yesterday, to adjust the levers but the adjustment didn't work), I just lifted the cover off by hand. Not doing that again.
If the valve had managed to free itself up in the tractor, I'd never have pulled the pump, so I'm glad it gave me the incentive to get the pump out. It needs a major cleaning.
This video below shows the stuck valve, then its amazing recovery to (hopefully) being fully functional.
Stay tuned for part two, cleaning the pump and parts. Ooh, I can hardly wait. It's a cliffhanger.


No comments:
Post a Comment