This truck has a unique starting system. You don't just turn the key to the start position and have the starter motor happily crank away. Oh, no. You push on a long rod or pedal with the tip of your right foot, press down firmly, and then the starter motor comes to life. With your foot on the pedal, it will take some coordination to use the heel of your foot to apply some throttle from the gas pedal while still pressing the starter pedal. It takes a bit of practice. The truck is supposed to have a manual throttle cable in the cab so as to allow application of some throttle without having to get your foot onto the gas pedal, but mine is missing. It's only $35 (!) to get a new throttle cable. Someday.
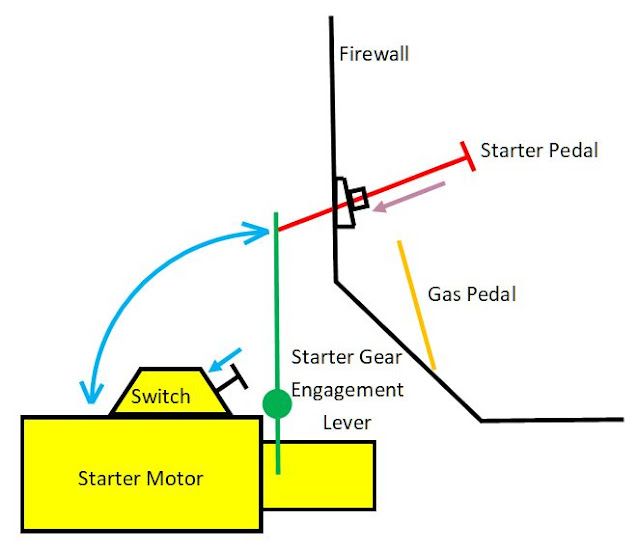
The above depiction shows a rudimentary layout of the starter pedal, starter motor and switch, gas pedal, and starter gear engagement lever. The red starter pedal is pressed with the right foot, which operates the green engagement lever. Once the starter pedal is pressed far enough, the engagement lever presses the starter switch down, which powers up the starter.
The problem I had with my setup is that the cast iron mounting plate that the starter rod goes through on the firewall is what they technically call, "wallered out." This affliction caused the end of the starter rod to sit very high up under the dash, so much so that I couldn't get my big clod-hopper toe on the end button. Something had to be done. This photo below shows the starter pedal in its extended state. It's right up next to the dash brace.
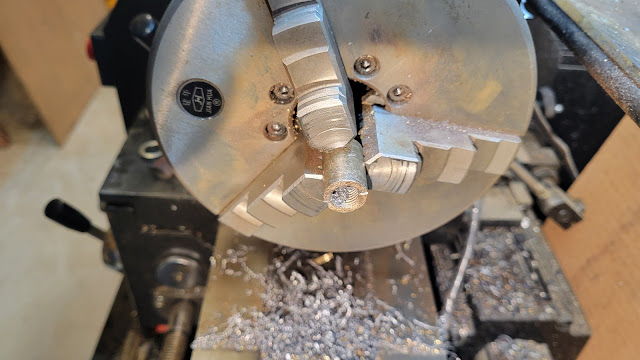
The finished product is below. It took some tweaking to get the starter pedal to move freely over its entire range of motion because I made the bushing tolerance a little too tight. If you look back to the top image, it shows that the hole in the engagement lever that accepts the starter pedal rod end swings in an arc (blue arcing arrow), so the starter pedal rod must have some amount of up/down play in the bushing so it can move a bit to allow for that arc. I actually had to shim up the bottom of the mounting plate so things would work smoothly. Before I came up with that brilliant kluge, I was thinking I'd have to take the entire mess back apart and turn a larger ID into the bushing halves.


No comments:
Post a Comment