The day I showed up to buy this 9N, the previous owner told me he was filling one of the rear tires with air on the tractor and the rim let go. As in, a section of the rim flange blew out. See it there? Kinda hard to miss. That was back 4-1/2 months ago. I figure it's time to tackle this little problem, as the tire obviously won't hold air the way it is and I can't move the tractor very easily.

I could have unbolted the wheel and tire from the tractor and taken the mess to someplace like Les Schwab, but with the condition of this tire (pretty severe cracks and checking), I doubt they would have taken on the job. So it fell to me to put things right.
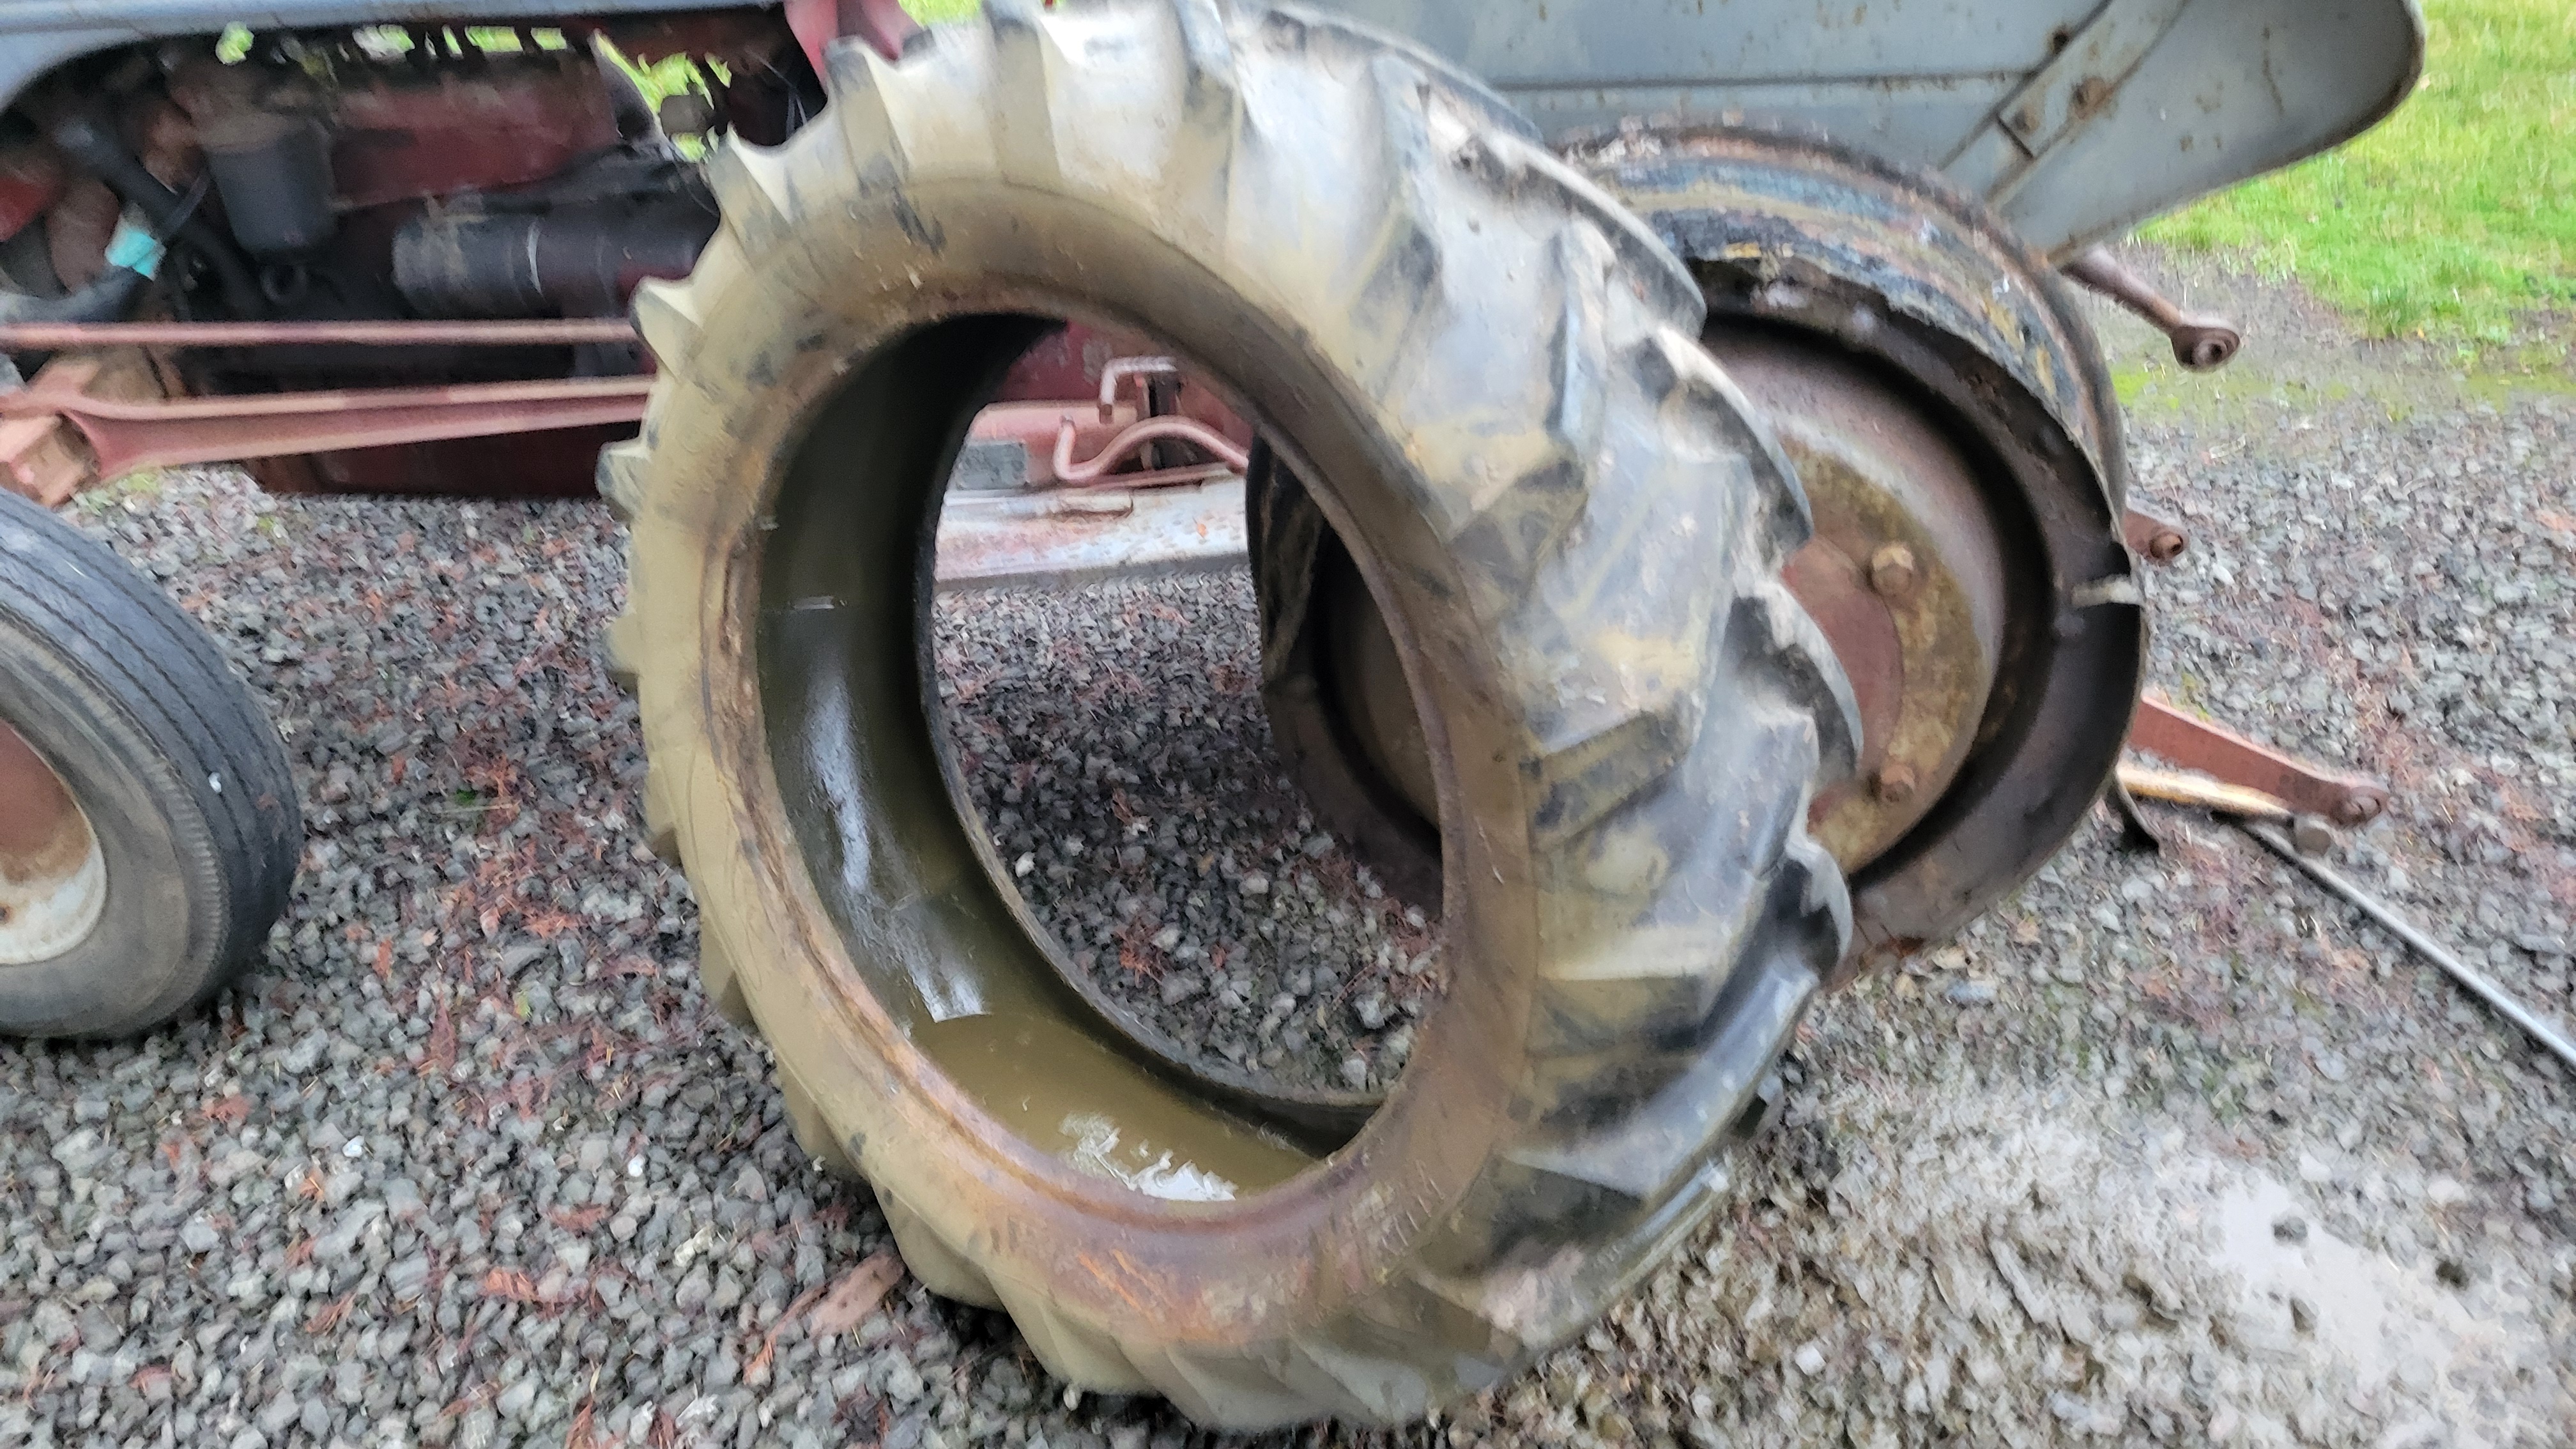
Peeling back the tire a little, I found....... I'm not sure what...... inside the tire/wheel. Well, ok, I know some of it is rust, but there also looks to be mud. Lots of it.

Here's another view of the wheel.


An oxy-acetylene torch was used to heat the outer wheel nuts red-hot, then I doused them in water. That shock was enough to get the nuts loosened with just a modicum of force from the 20-inch-long, 3/4-inch-drive ratchet and 1-1/16" socket . I don't know if I'll be able to whack the bolts out of the ever-so-rusted wheel though. That's a fight for another day. It's getting dark.

The tractor is patiently waiting for its new wheel.


It's another day, and time to try and get the bolts out of the wheels. I wasn't too successful doing this same job on the '49 TO-20 wheels. I'll try to use more finesse and take my time on this wheel instead of just wailing away at the bolts (with the nuts threaded on loosely) with a sledge hammer like I did on the '49. An acetylene torch and lots of whacking with a sledge hammer and rebar drift, air chisel, etc. did finally work to get these six bolts out of the rusted mess of a wheel.
The other bolts had kind-of mushroomed on their threaded ends from the pounding (yes, even with the nuts threaded on) so they had to be chucked up in the old 1929 South Bend lathe (click here) so their threads could be re-cut. I think a lot of folks don't know that you can do this type of thread chasing on a lathe. It just takes a bit of care to get the threading tool lined up as close as possible to the "valleys" of the threads. It really isn't that difficult. These next two photos below show a bolt chucked in the lathe.


The video below is an 11-minute version of getting the tire/tube onto the wheel, then mounting on the tractor.
A new issue reared its ugly head when I drove the tractor. The governor isn't working properly. Well, the governor seems to be working but the carburetor's throttle shaft gets tight and won't rotate freely when the engine is running. Very strange. I took the carb off three times trying to figure something out but I guess I'll need to take it off at least one more time to figure out the problem.
Ok, yet another day, and more time spent on carb removal. I won't go into a lot of details here but one thing I found was that the throttle plate had some slight wear marks on it. I filed them smooth and put everything back together. That must have been the issue because now the throttle response is good. Below is a photo of the throttle plate wear marks.

One last job before putting this tractor up for sale is to replace the broken PTO shaft. I bought a replacement on eBay for $72. This tractor isn't doing me any favors as far as making any money on its sale. Be that as it may, it'll sell better with a working PTO shaft. Here's the broken one.


It's a bit difficult to sell this thing but I have too many tractors and can't keep them all.

I also found out the cut out relay isn't working, so.... more bucks spent on this little money pit. $35 to be exact. Hopefully that's the last thing I need to buy. The next photo is of the old relay (it's not supposed to be in two pieces), then the new one.


No comments:
Post a Comment